Recently a friend of mine moved to Ojai, and I wanted to reach out and make an impression. So I decided to send him an Ace of Sales Email Greeting and give him an ‘Ojai Five.’
Making this customized image only took a few minutes. I’ll walk you through how to customize your own photos in 10 simple steps.
1. Take A Photo With Your Webcam
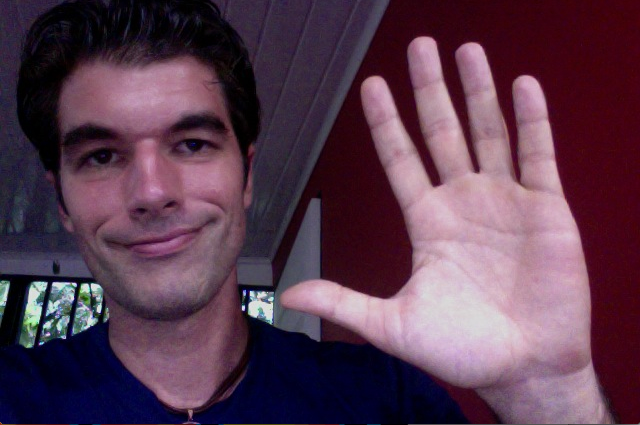
Or with your smartphone. Or use a picture on Facebook. Just make sure to…
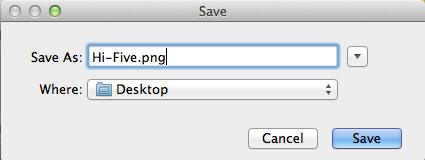
2. Save The Image To Your Desktop
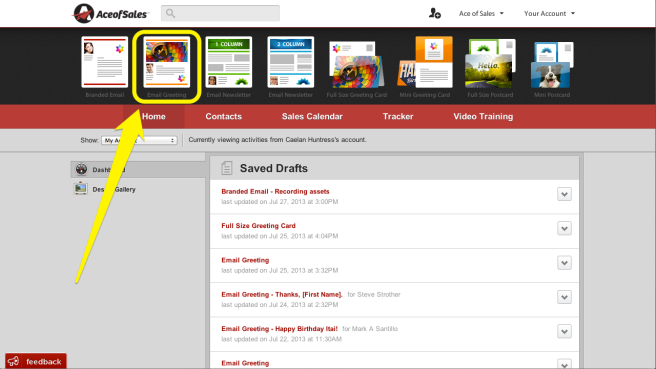
3. Login To Ace Of Sales
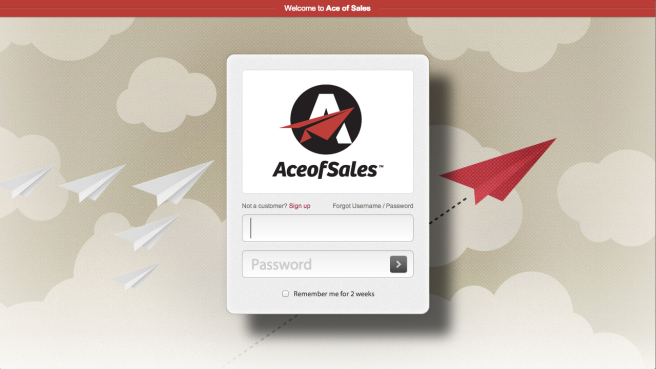
Don’t have an Ace of Sales account? No problem. Sign up for one here.
4. Send An Email Greeting
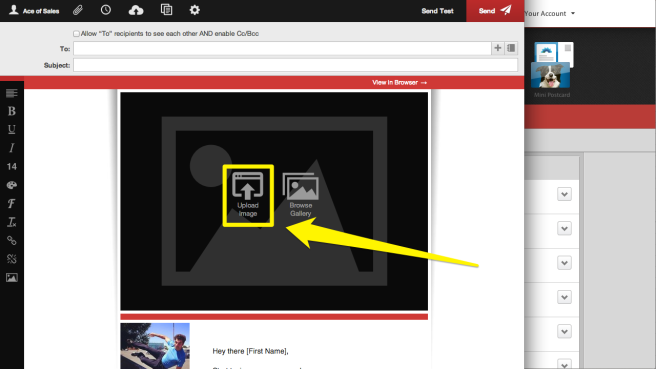
5. Upload Your Image From The Desktop
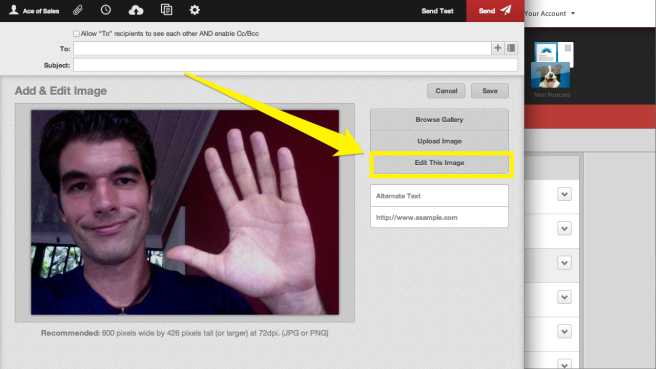
6. Select ‘Edit This Image’
7. Scroll To ‘Text’
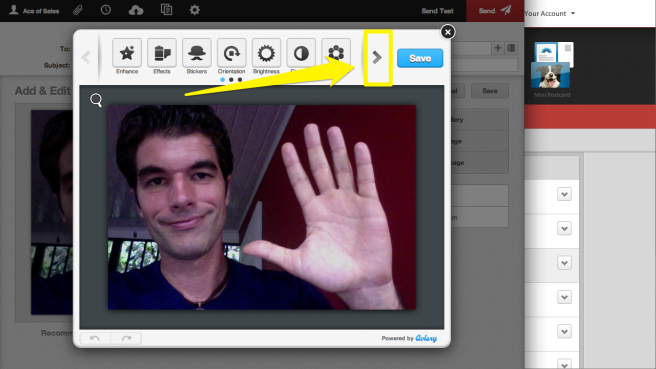
This is Aviary, the Ace of Sales Image Editing tool. Scroll to the right…
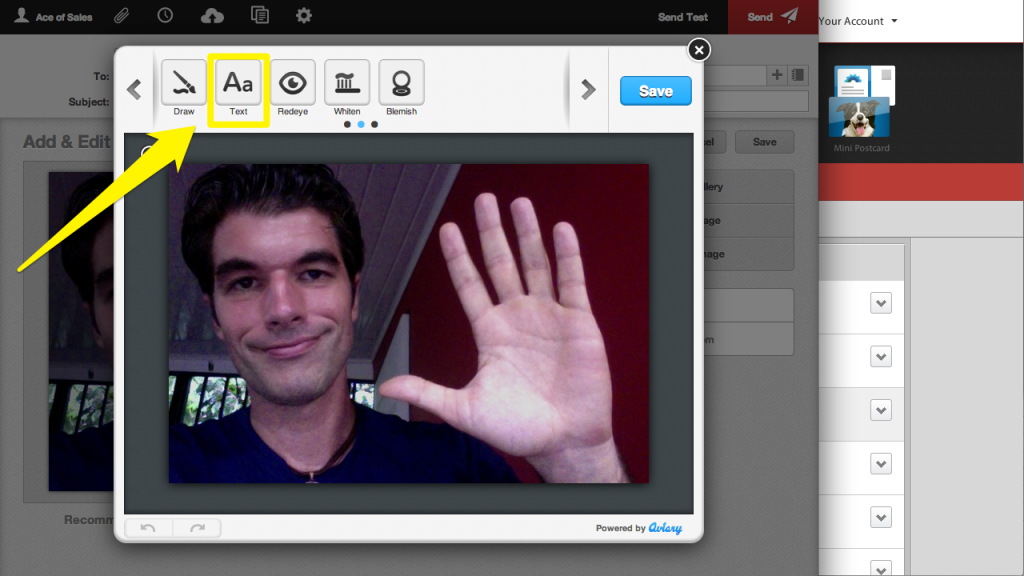
…and select the ‘Text’ option.
8. Add Your Text. Click ‘Apply.’

9. Save Your Image.
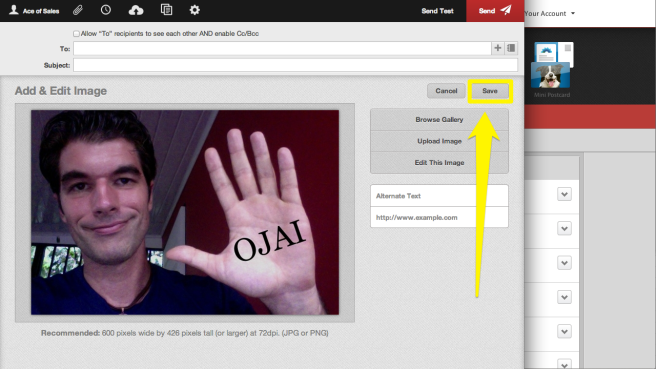
This also adds your image to your Ace of Sales account, so anytime you want to send a ‘High Five’ image, you can send this to another friend.
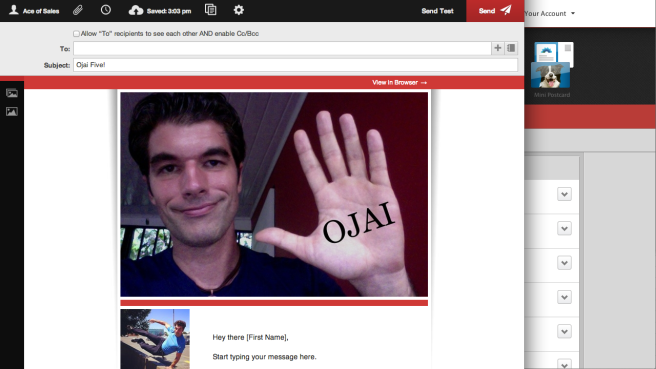
10. Write Your Message And Send!
Now I can add a subject line (I like ‘Ojai Five’ for this one), customize my text in the body of the message, and send away.
Have you used a custom image to make an impression in an email?
Leave a quick tip in the comments!


What a great idea! I actually include a copy of my business card and a picture of myself in the signature of my emails for this reason of personalizing. Why use Ace of Sales when you can just attach the photo to your email? Just curious. I love this idea and am going to do a picture of me waving. Thank you!
The big reason, Amy, is attachments manually put into an email, or inserted with an automatic signature, can get flagged for spam. Ace of Sales is always working to find out how to get their emails into inboxes, so they stay on top of the latest spam filters, and how to get around them.